

Data is one of the main intangible assets of your company: Customers, Contacts, Products, Sales, Service Cases. However, many times managing data is a major challenge for Salesforce users.
Let’s start with bulk data loading.
In this article we are going to show you the process and the tools that Salesforce has to load, maintain and manage data in an easier and more controlled way.
Tools and steps to follow for a successful import
Data Import Wizard
Let’s start with the simplest Salesforce Data Import Wizard tool. This tool is useful for using standard objects such as Accounts, Leads, and having a value of less than 50,000 records. This tool will guide the user through each of the steps:
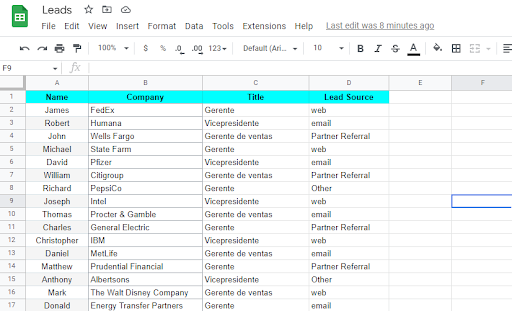
Step 1: Prepare the data to be imported
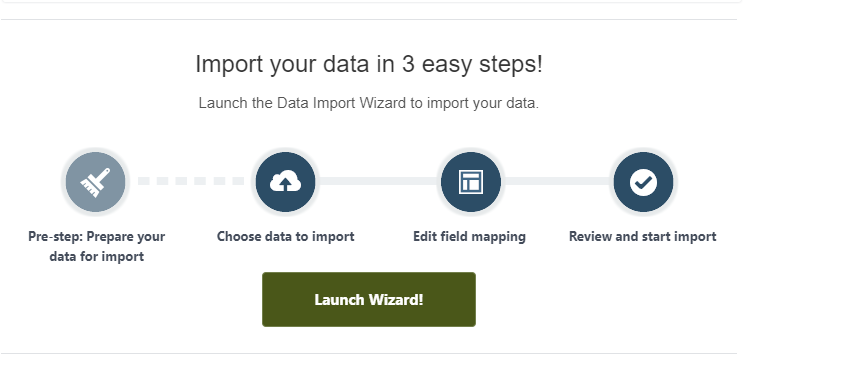
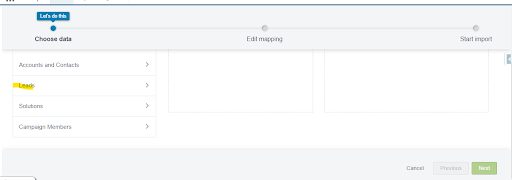
Step 2: Select the object to be loaded
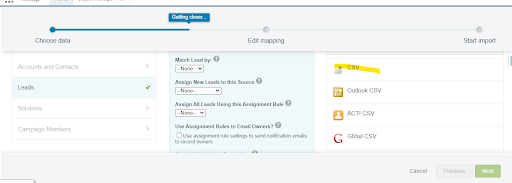
Step 3: Indicate the action to perform. In this case, we are going to import new records

Step 4: Select the CSV file to import.
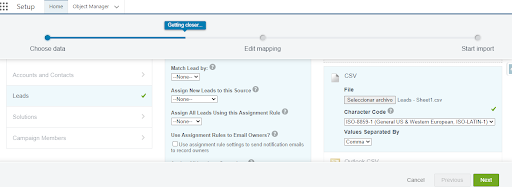
Step 5: Map the Salesforce fields to those in the file.
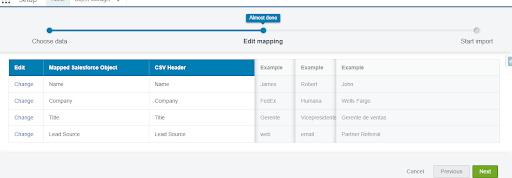
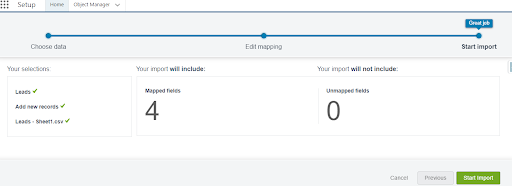
And as a last step, review the imported data and its status.

Data Loader
In case of more complex loads and with a larger volume of records, Salesforce has “Data Loader”. It allows up to 5,000,000 million records, the loading records for custom objects or for opportunities and cases.
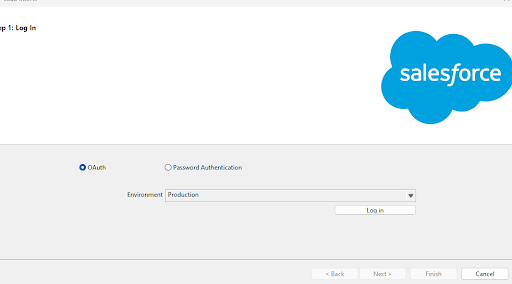
Step 1: Start the application
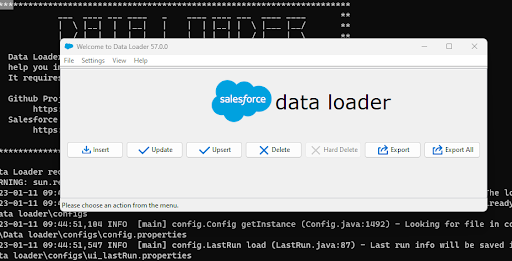
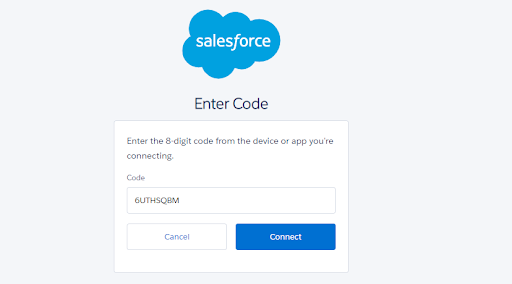
Step 2: Connect the application with Salesforce
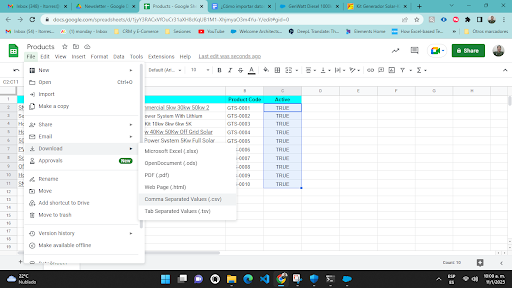
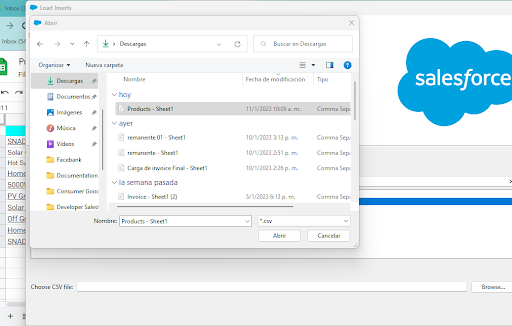
Step 3: Browse for the file to be uploaded and download it in CSV format
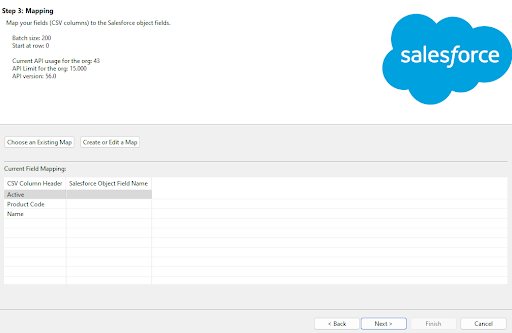
Step 4: Select the object to be loaded

Step 5: Select the file to upload
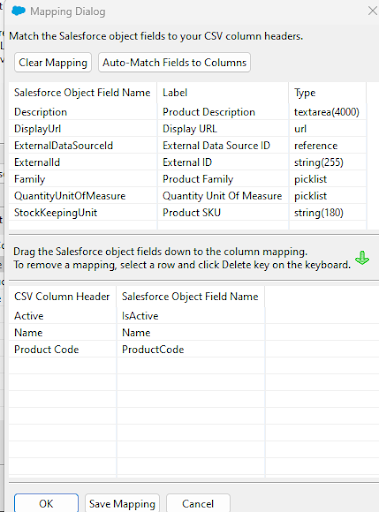
Step 6: Perform the field mapping process by selecting the “auto mapping” option or by dragging the field from above.
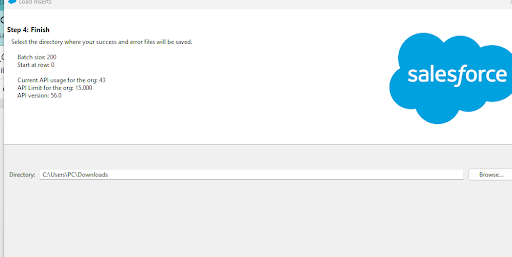
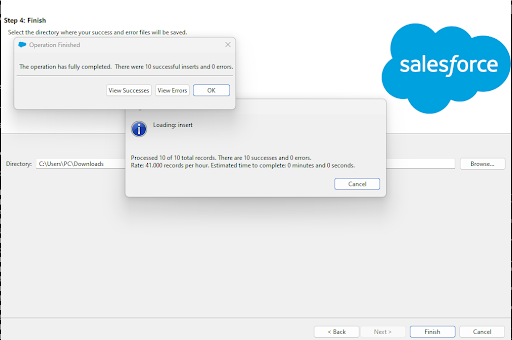
Step 7: Select the folder where the data import results are to be saved.
Salesforce Connector (Google sheet)
Another tool that Salesforce has to import data is “Salesforce connector”, created by Google for “Google Sheets”. With this tool you can:
- Import data and reports from Salesforce into your spreadsheet.
- Easily import, update and delete your data from your spreadsheet to Salesforce.
Let’s see how to import data with “Salesforce Connector”.
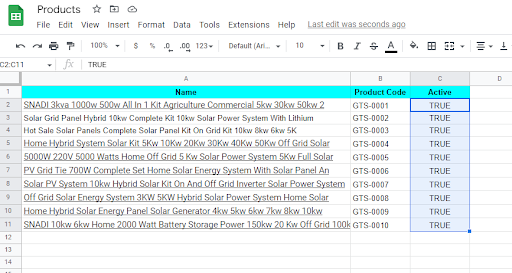
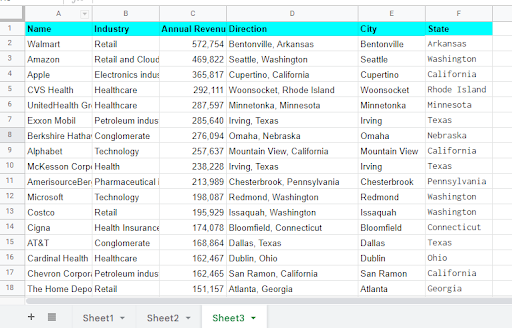
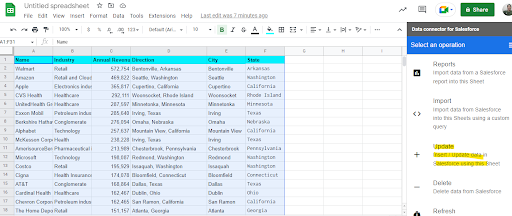
Step 1: Review the data
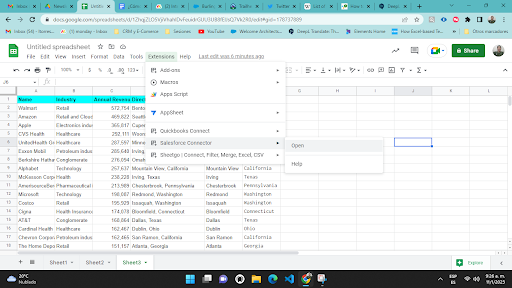
Step 2: Connect the spreadsheet to Salesforce
Step 3: Select cells
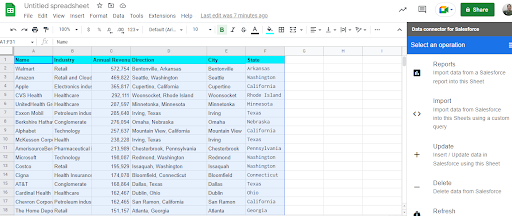
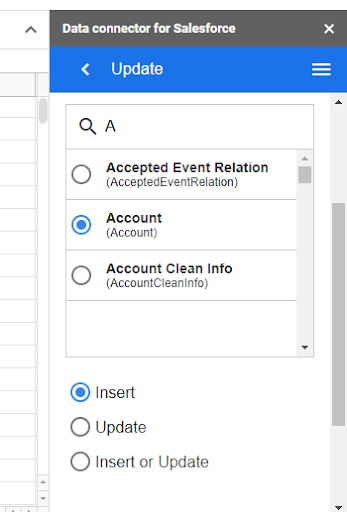
Step 4: Select the update option
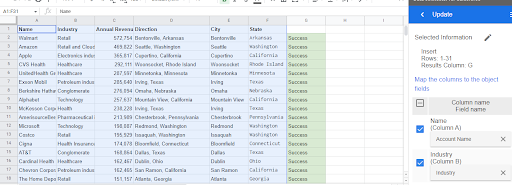
Step 5: Select the object and the “insert” checkbox
Step 6: Specify the column where the import results will be saved

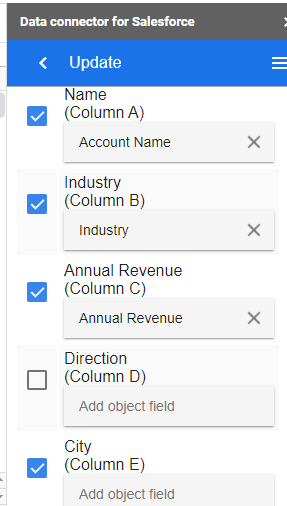
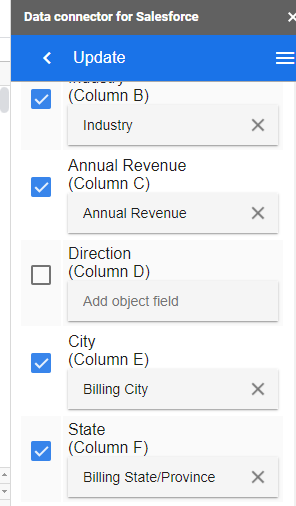
Step 7: Review the field mapping and select the field manually, if necessary.
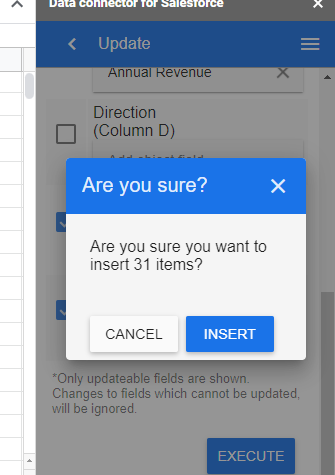
Paso 8: Insert the records.
Step 9: Once the data has been imported, the system will display the results
Clear the data! A crucial step for a successful import
We have already shown you the tools and the process in each one of them. But this will not work if the data has errors! So we suggest that you clean the data and here are the following tips:
- Use the option to remove duplicate data.
- In the file for fields that have a pick list, use a list of values in the spreadsheet to use the existing values in Salesforce.
- For example, remove periods, commas or characters you don’t need.
- Don’t be afraid to use the formulas in your spreadsheet to make the records meet the standards your company wants.
What does the future hold?
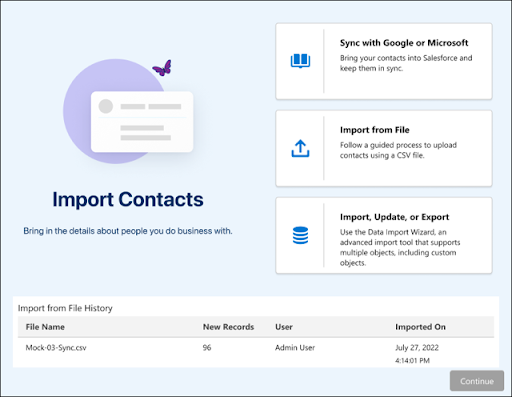
Salesforce is always improving its CRM and in the next update it is going to give us a new tool for exporting and importing data such as leads and contacts, allowing multiple options and a guided process.
Summary
Whichever tool you use, it is important to learn how to import data as quickly and effectively as possible to get the most out of it and avoid errors that can harm the company.
This will ensure that you have the right information about the customer, your commercial operations and customer service, which will allow you to better serve your customers and achieve higher sales.